Showing posts with label Treasure Gold. Show all posts

Monday, 21 February 2022

Christmas in February


Hello

This year I am joining in with some challenges hosted by Isa on FB. Each month there is a Christmas card challenge, with the idea that at the end of the year Christmas cards will be made without the last minute rush.

This month the prompt is dark blue, gold, tree and stencilling.

I started with prussian blue Brusho and aqua lagoon Pixie Powder on watercolour paper.

 
I used Dr Ph Martin's bleed proof white paint through stencils. I also 'swooshed' some snow and added a lot of spatter.

The Crafty Individuals die cut tree was embellished with gems and I decided not to add a sentiment to the front...at least for now.


I added some faded jeans Distress ink and Treasure Gold gilding wax to the edges. The gilding wax picks up the texture of the paper nicely.


Thank you for taking the time to stop by. Have a lovely week xxx

Tuesday, 8 February 2022

February tagalong

Hello

This year I'm joining in with a monthly tagalong hosted by Isa on FB. There is a live technique tutorial  and this month the feature was gesso. If you are interested you need to ask to join the private tagalong group. I won't share her techniques for obvious reasons.

February tagalong - using gesso to tone down background papers, use as a resist or applied thickly for texture.


I'm really enjoying being pushed to try new things and being a bit more adventurous in my crafting.

Thank you for stopping by. Have a lovely day xx


Sunday, 3 May 2020

Steampunk style

Hello
Today I'm sharing a card made for an 18th birthday for someone who loves textiles and design. Hope it fits the bill.

Unfortunately I accidentally deleted the photos of how I made the background. I used an embossing folder for the tailor's dummy image and stuck on black peel-offs, before painting over it with black gesso and Fresco Finish chalk paint.


I used various metallic waxes to highlight the embossed areas...


...and added the embossed and die cut numbers.


It's a good technique to get a different look from your embossing folders.

Thank you for stopping by. Have a lovely day xx


Sunday, 12 April 2020

Romantic steampunk

Hello
Hope you are having a relaxing day wherever you are. At least crafting is helping some of us keep sane during the virus lockdown. Today I'm sharing the latest in the #craftingwithgiogio projects on the theme of steampunk or vintage. I was inspired by this painting of Elizabeth I for the colour scheme.


I started by covering the page with black gesso, using thick paint and heavy brush strokes to create some texture for the curtains. I added the Giogiocraft laser cuts and peel offs, and gessoed those as well, before laying down a first layer of paint.


I like using PaperArtsy Fresco Finish paints for crafting as they come in a wide range of colours and so I don't have to think about colour mixing. Even more importantly they come in opaque, semi-translucent and translucent so they are amazing for effortless layering, and they dry very quickly.


With all the painting done I added stamping with DecoArt dazzling metallic paint and highlighted the peel offs and die cuts with a variety of gilding waxes. To finish off I added some tiny watch parts, which were a present from my sister, with just this kind of project in mind.
 
-


Do take the opportunity to see the other lovely creations #craftingwithgiogio. Thank you for taking the time to stop by.  Enjoy the weekend xxx

Saturday, 16 September 2017

Joseph's Coat

Hello
I'm a bit late posting this one. I had a busy day yesterday and spent a great evening at Chertsey Museum doing a bit of crafting with nine lovely ladies making mixed media notebook covers. They must have enjoyed it as they want to do the same technique again on something else. Didn't get to photograph them all but they made an excellent job of it.


This week The Craft Barn has been showcasing the Joseph's Coat technique using different ways of masking to reveal a layer below. I went for a canvas board.


There are quite a few steps for this one so do take a look at the blog for all of the details. The weekend awaits and I am very hopeful for at least one day of crafting! 

Thank you for stopping by. xx


Saturday, 27 June 2015

Claire's Stuff

Blogging two weekends in a row!  Must mean I'm winding down at work and gearing up for some holiday crafting.  I'm off on a course next week and it occurred to me I might need a notebook.  The perfect opportunity to try out a technique that Lindsay Mason introduced me to.

First I masked off the spine on a cheap supermarket notebook.  I stuck on embossed paper, die cuts, metal embellishments and metal studs, then painted everything with a coat of Little Black Dress (sorry I forgot to photograph that step).


I then covered the background with Viva Decor Maya Gold, working the paint in to all of the nooks and crannies.  When the base was dry I used two more colours to paint the letters.


To finish off a little Treasure Gold was used to highlight the edges and bring out some of the texture.


No chance my notebook will get mixed up with anyone else's!

Have a lovely day x

Materials used:
notebook
assorted die cuts and embellishments
Cosmic Shimmer glue
PaperArtsy Fresco Finish paint: little black dress
Viva Decor Maya Gold paint: gold, cacao, turquoise, emerald
Treasure Gold: white fire


Saturday, 21 February 2015

A Trouble Shared

Hi There
Thanks for stopping by.  Inspired by Alison Hall's plaque on PaperArtsy's blog, mainly because I love the colours, I decided to make one with a particular friend in mind.  The theme is all about paint, an excellent excuse to get out the Fresco Finish Chalk Acrylics. 

First some grunge paste was added to mount board and when dry painted with snowflake and chalk paint.


Pieces of patterned paper were glued on.  Some masking tape was painted in patches with bora bora, wording stamped in snowflake and pieces added to the paper.  Splatters of eggplant and beach hut were added by flicking a paint brush.  More script was stamped in cobalt Archival Ink.


Gelatos were added to the edges and very lightly over the Grunge Paste.  Treasure Gold was used to add highlights.


The flower was stamped repeatedly and painted with washes of beach hut and eggplant.  The flowers were layers up, with one flower cut smaller.  Treasure gold was added to the tips of the petals, gold pen added to the centres with a pearl gem. 

The sentiment was stamped in Archival Ink, coloured with paint wash and adhered with Multi Medium.


I'm entering this in PaperArtsy's Challenge 3 - Paint.  Thank you for taking the time to look.  I really appreciate all of your comments.

Materials used:
PaperArtsy stamps: Eclectica EDY05, EDY10
IndigoBlu stamps: B.F.F.
PaperArtsy stencil: PS003
PaperArtsy Fresco Finish paint: Bora Bora, beach hut, snowflake, chalk, eggplant
PaperArtsy Grunge Paste
Treasure Gold: white fire
Faber-Castell Gelatos: grape, cotton candy
Ranger Archival Ink: cobalt
Ranger Multi Medium Matte
gold marker
masking tape
patterned paper

Sunday, 8 February 2015

Shiny Stuff

Hi there
I've not had much time for crafting in the last month but with less than 24 hours to go I decided to make something for the PaperArtsy Challenge - Shiny Stuff.  Inspired by Trish Latimer's post I decided to make something with copious amounts of Treasure Gold in different guises.

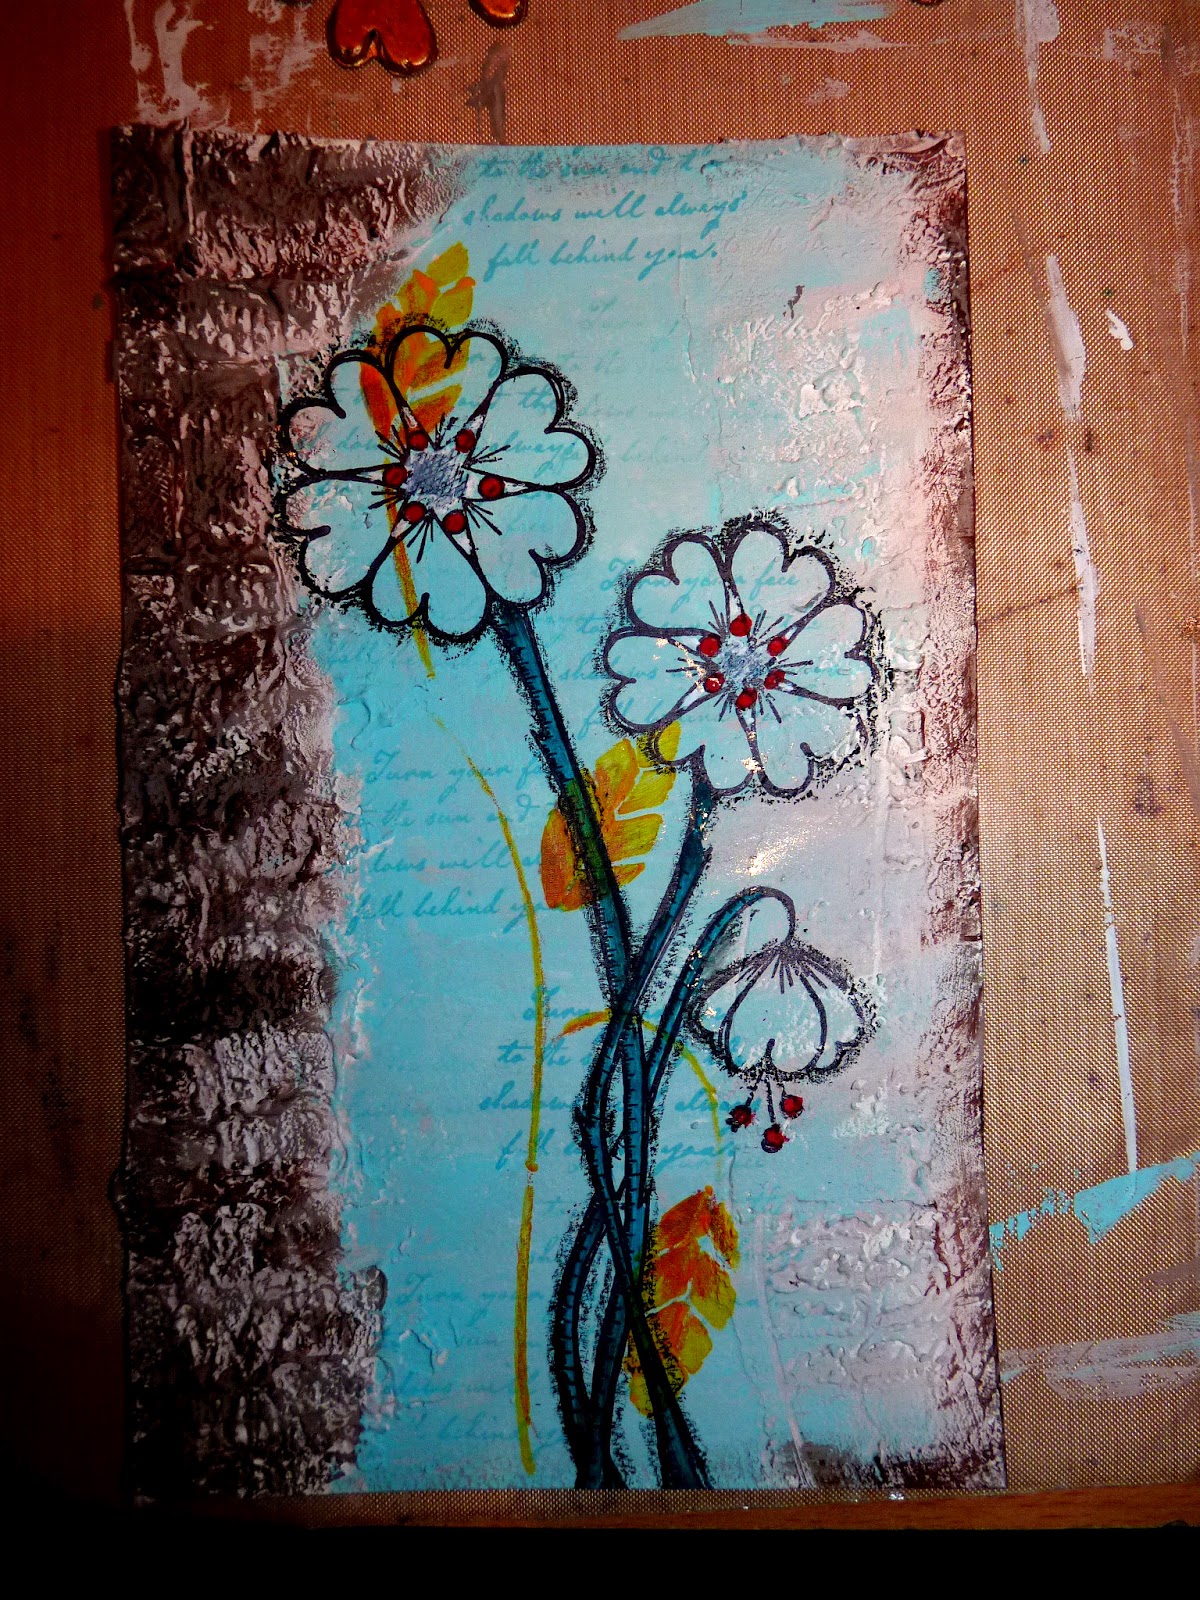
I started by melting some glue with a glue gun, and pressed in to it a flower stamp which had been lightly smeared with vaseline to help it release.  When cool, I cut out the petals and covered them in classic treasure gold.


I covered two edges of a piece of card stock with a thin layer of grunge paste.  On the left a brick stamp was repeatedly pressed in to the past and on the right a script stamp to add a little texture.


Then I experimented with some Fresco Finish chalk paints for a background.  I stenciled on some leaves but later changed my mind and painted them out.  Some script was stamped in distress ink and the flowers were stamped in Archival ink.  The flowers were outlined with a Stabilo All pencil.  Some more stamping was added to the background.


Treasure gold was lightly rubbed over metal butterflies to highlight the design.


More treasure gold was used to highlight the painted grunge paste.  Some extra lines of treasure gold were added with the edge of a credit card.  Gold microbeads were added to the centre of the flowers with a little extra higlighting of course.  Finally I decided against the painted red stamens and added some metal nailhead stickers for a final bit of bling.  Definitely shiny stuff.


Thank you for stopping by. Why not pop over to the PaperArtsy blog to see some of the other entries?

Materials used:
PaperArtsy: Eclectica EDY10, JOFY JM05
Fresco Finish chalk paints (chocolate pudding, taupe, vintage lace, chalk, mermaid), Grunge Paste
Ranger: Archival Ink (jet black), Distress Ink (peacock feathers), Glossy Accents
Treasure Gold: classic, white fire
vaseline
white gel pen
Stabilo All pencil
metail embellishments
cool glue gun and glue